RV modifications
Before our Asseteague Island trip, I installed a solar system on the RV. I used a Sun-130 panel when they were $1.98/watt. The panel is bolted to aluminum L-channel, which is attached to the roof using double-sided sticky tape.
Yes, that’s right, tape. It’s 3M 4950 VHB tape. It’s $50 a roll. See what it can do here.

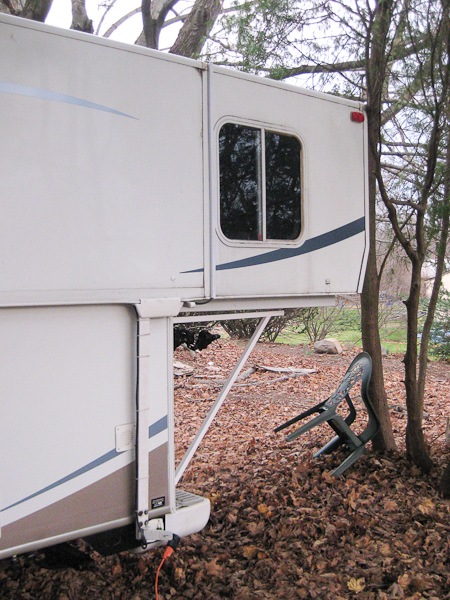
The panel is about five feet wide. The wiring harness comes down under the conduit at the panel’s lower right, and down the side of the RV to the left of the window, and down the arm (see the cable ties?):
…Then into the battery compartment where it attaches to the ProStar-15 charge controller:
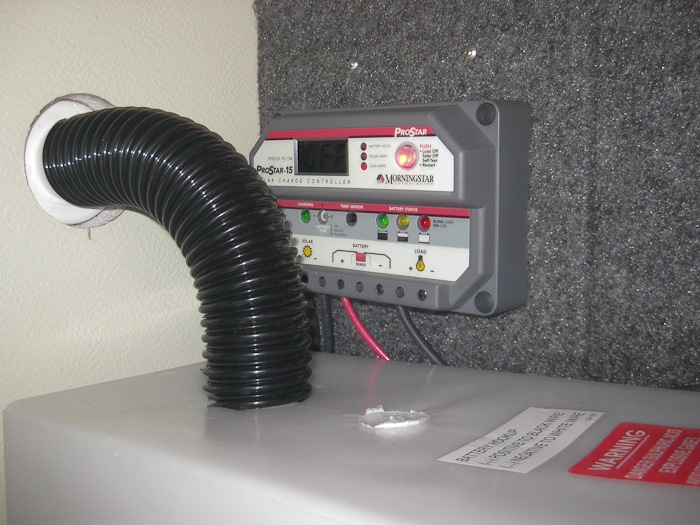
That’s about it. By 11am every day, the battery was fully charged!
![]()
Over Thanksgiving weekend, I installed a pair of pre-charged pressure tanks in the RV. Without a pressure tank, the moment you turn on the faucet, the pump turns on to maintain pressure in the line between the pump and the faucet. Adding the tanks allows us to run several gallons through the faucet, then the pump runs for several minutes to fill the tanks.
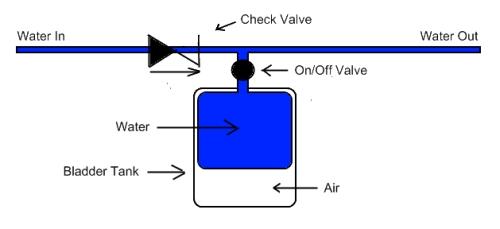
Here’s how the tanks work:


The tank hangs on the line between the pump and the faucet, like this:
To do the install, I cut the supply line where it enters the water heater. I used this type of “T” connector since the original line is PEX and I’m using CPVC:

At the top of the part I added, there’s a hose barb, that attaches to a clear hose that attaches to a fitting installed in the sink backsplash:
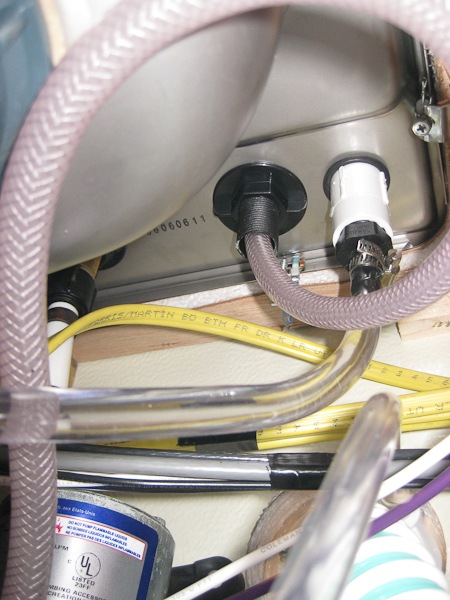
Here’s the top side. It’s a Banjo camlock connector. It’s a quick release connector for pressurized water systems:
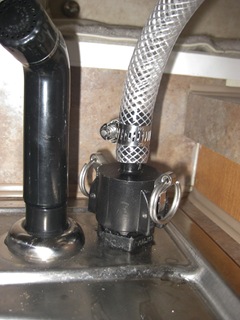

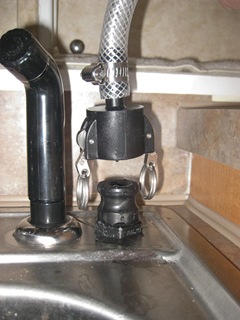
From there, the hose runs over to the dining room bench, where the tanks live. The hose will be behind a shelving system that goes in that gap, so it won’t be so obvious.
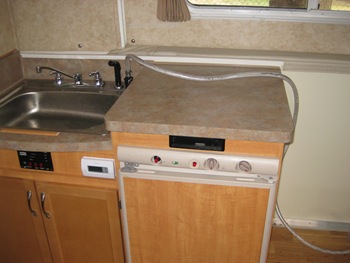

The tanks are installed in the bench:

And that’s about it! The tanks supply about 3.5 gallons before the pump comes back on.
Oh, I also swapped out the analog thermostat for a programmable digital one:

I’ll be installing a catalytic heater next.
2 Comments:
Pretty slick. I might add a tank like those to our trailer. Would keep things quieter at night when washing hands....
I couldn't justify the addition of the solar panel, but now that I think about it, it would be better for keeping the batteries topped off than keeping the A/C plugged in all of the time. I do keep a heater plugged in this time of year though, set above freezing. :)
If you do go ahead, the Amazon unit is far less expensive than anything else I could find.
It's below freezing here at night for a few months, so it's worth the trouble to winterize the RV. Trailmanor has extensive low-point drains, so anti-freeze isn't needed.
Post a Comment
Links to this post:
Create a Link
<< Home